Real Estate Photography Camera Settings: The Complete 2026 Guide
June 5, 2026 | by Ian
Real Estate Photography Camera Settings: The Complete 2026 Guide
The settings that separate amateur real estate shots from MLS-ready images come down to a handful of dial positions: aperture between f/7.1 and f/11, ISO 100 to 400, and a shutter speed slow enough to let your tripod do its job. Master those three numbers, pair them with the right white balance for the room, and you’re shooting at a professional level no matter what body sits behind the lens.
Why Camera Settings Make or Break Your Shots
Gear matters less than most photographers think. A five-year-old Canon 6D Mark II with the right settings will deliver listing photos that close houses just as quickly as a $5,000 Sony A7R V running on guesswork. The body controls noise performance and resolution headroom; the settings control sharpness, exposure balance, and color accuracy, which are the three things buyers actually see when they scroll Zillow.
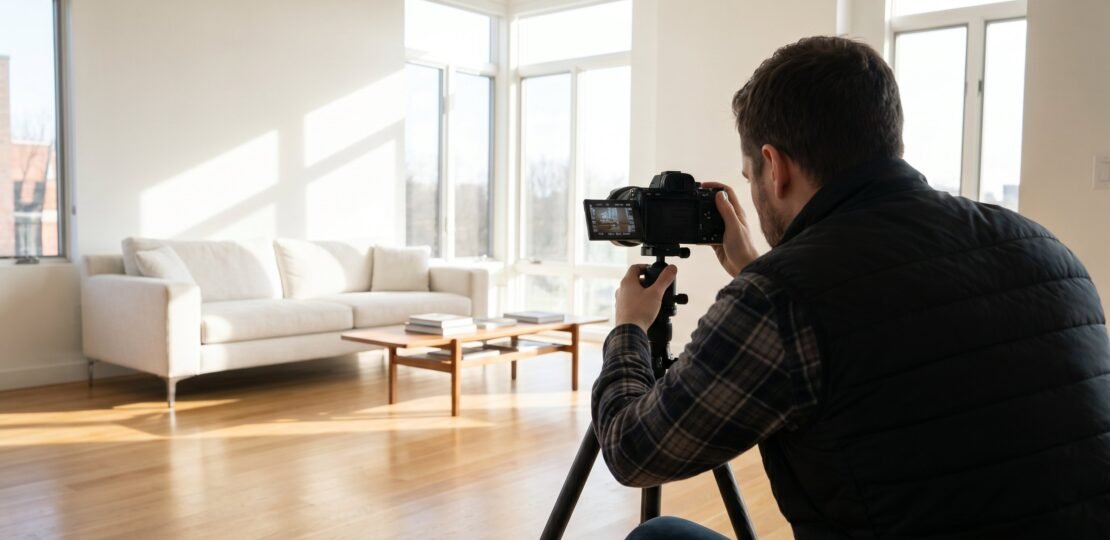
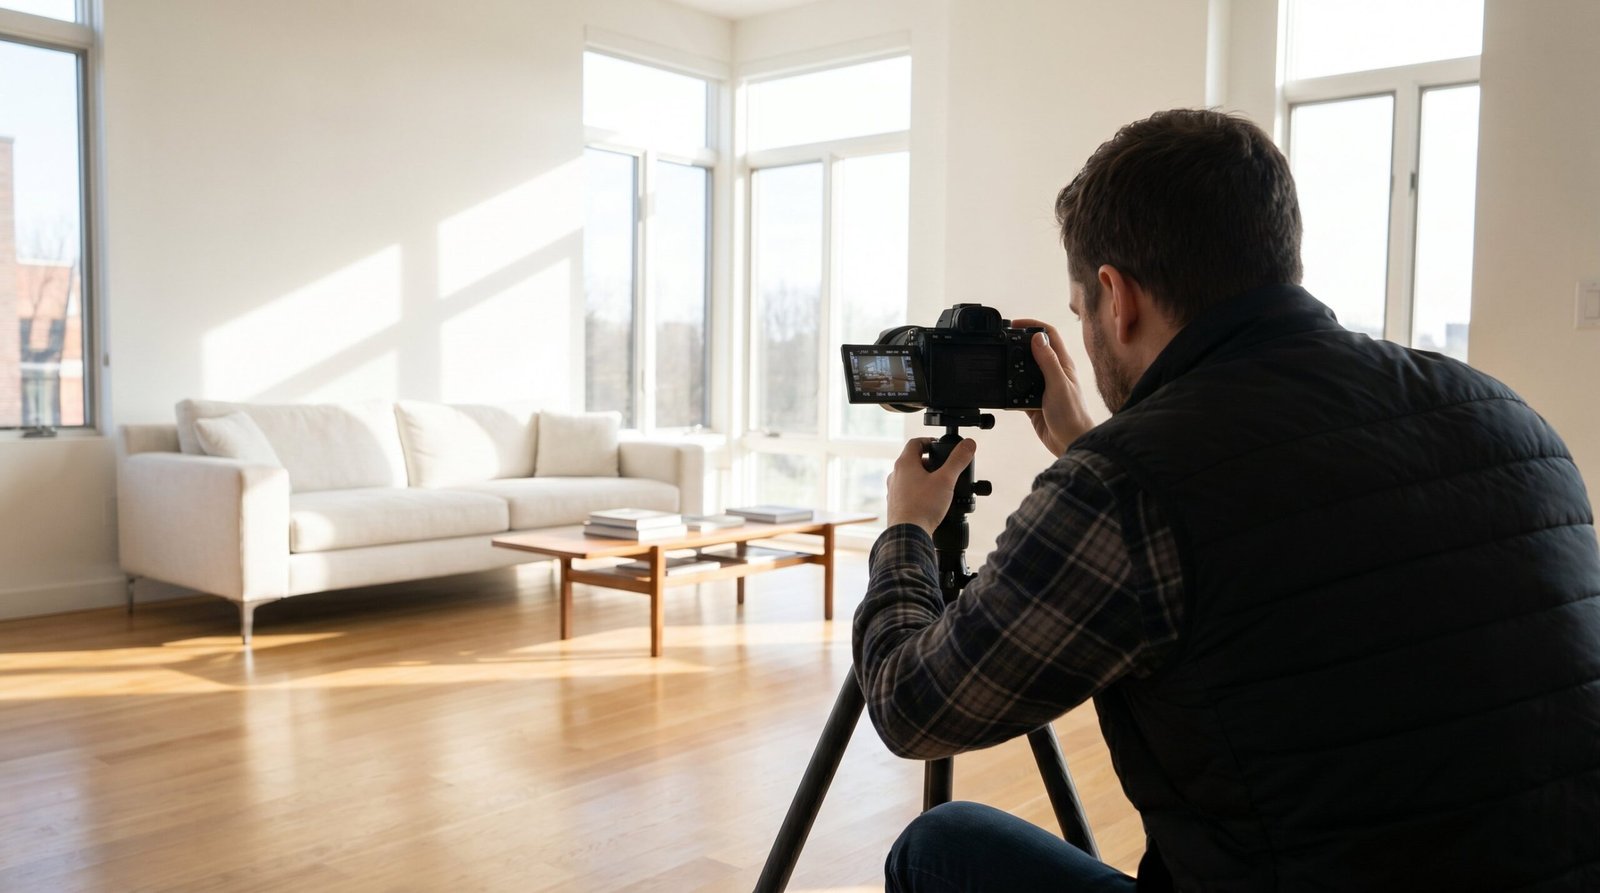
Walk into any home with a mid-range mirrorless or DSLR, dial in the right aperture, lock the camera to a tripod, and you can produce images that look identical to what someone shooting a flagship body produces. The difference between the two photographers in that scenario is workflow, not pixels. Before getting deep into settings, it helps to understand how your camera fits into the larger kit; our complete real estate photography equipment guide walks through bodies, lenses, tripods, and lighting that work together.
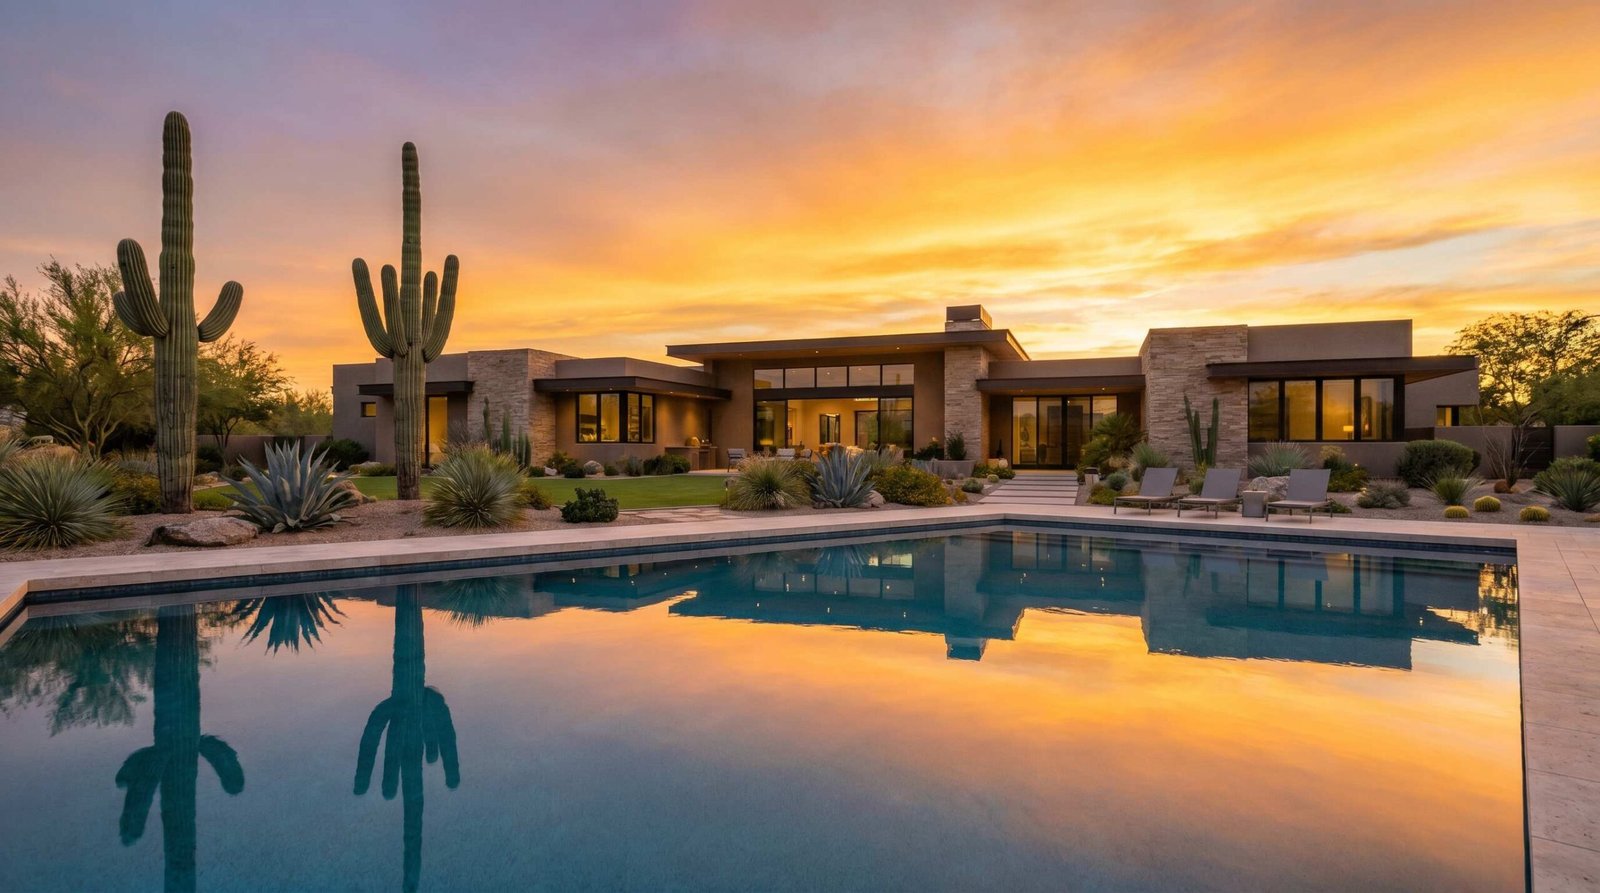
The stakes are real. NAR research shows that 97% of buyers begin their home search online, which means the first impression of a property happens through the photos you take. A buyer who scrolls past a listing because the kitchen looks dim or the living room corners are mushy is a buyer the agent will never recover. Settings are not a technical exercise; they are the first marketing decision in the sale of a home.
The Three Core Settings (Aperture, ISO, Shutter Speed)
Every interior shot starts with the same three decisions. Lock these in correctly and most of your work is done before you even press the shutter.
Aperture: Why f/7.1 to f/11 is the Standard
Aperture controls depth of field, and in real estate photography you want a deep field. The viewer should see the countertop, the dining table, and the window beyond it all in focus from a single frame. The sweet spot for that across virtually every full-frame and APS-C lens sits between f/7.1 and f/11, with f/8 as the de facto default.
Shooting wider, say f/4, looks tempting because it lets in more light, but two problems show up. First, ultra-wide angle lenses used for real estate (16mm to 24mm zoom range) are noticeably soft in the corners at wide apertures. The right side of your kitchen frame turns into a smear. Second, depth of field at f/4 with a wide-angle lens at three feet from the foreground island is around five feet of acceptable sharpness, which means the wall behind it goes soft. Your subject becomes ambiguous; nothing in the room looks crisp.
Stopping down past f/11 also creates problems. On a 24-megapixel full-frame sensor, diffraction starts to soften the entire image around f/13. On a 45-megapixel sensor like the Canon R5 II or Sony A7R V, you start losing micro-contrast at f/11. Going to f/16 to gain depth of field actually loses more sharpness than it gains. The math works against you.
For 95% of interior real estate shots, set the camera to f/8 and stop thinking about it. Push to f/11 only when you need extra depth on extremely tight spaces like a small bathroom where the front of the vanity and the back of the shower must both stay sharp.
ISO: Keep It Low, Let the Tripod Handle It
ISO is the noise dial. Lower is always cleaner. For bright living rooms with multiple windows, ISO 100 is correct. For dim bedrooms with one small window, ISO 200 to 400 is reasonable. For windowless basements or interior bathrooms with weak overhead lighting, ISO 800 is your ceiling.
Why so conservative? Because noise lives in the shadows, and real estate interiors are full of shadow areas: under cabinets, in closets, behind furniture, in corners. The clean, magazine-look that buyers expect comes from shadow areas that hold detail without that grainy, mushy texture high ISO introduces. Even when noise reduction in Lightroom can knock down ISO 1600 or 3200 to acceptable levels, you lose fine detail in the process. A clean ISO 100 file always has more usable detail than a denoised ISO 3200 file.
Modern mirrorless bodies do handle high ISO better than ever. The Sony A7R V, Nikon Z8, and Canon R5 II all produce clean files at ISO 800, and some photographers comfortably push them to ISO 1600. But when the camera is locked to a tripod, there is no reason to use that latitude. You have unlimited shutter speed available. Use it.
Shutter Speed: The Tripod Handles This
Once aperture and ISO are set, shutter speed is whatever the meter says it should be. On a tripod with a cable release or the 2-second self-timer, you can use any shutter speed from 1/200s down to 30 seconds without introducing camera shake. Bright living rooms at f/8 ISO 100 might meter at 1/30s. Darker bedrooms might meter at 1/4s. Twilight exteriors might land at 2 seconds. None of these are problems when the camera is locked down.
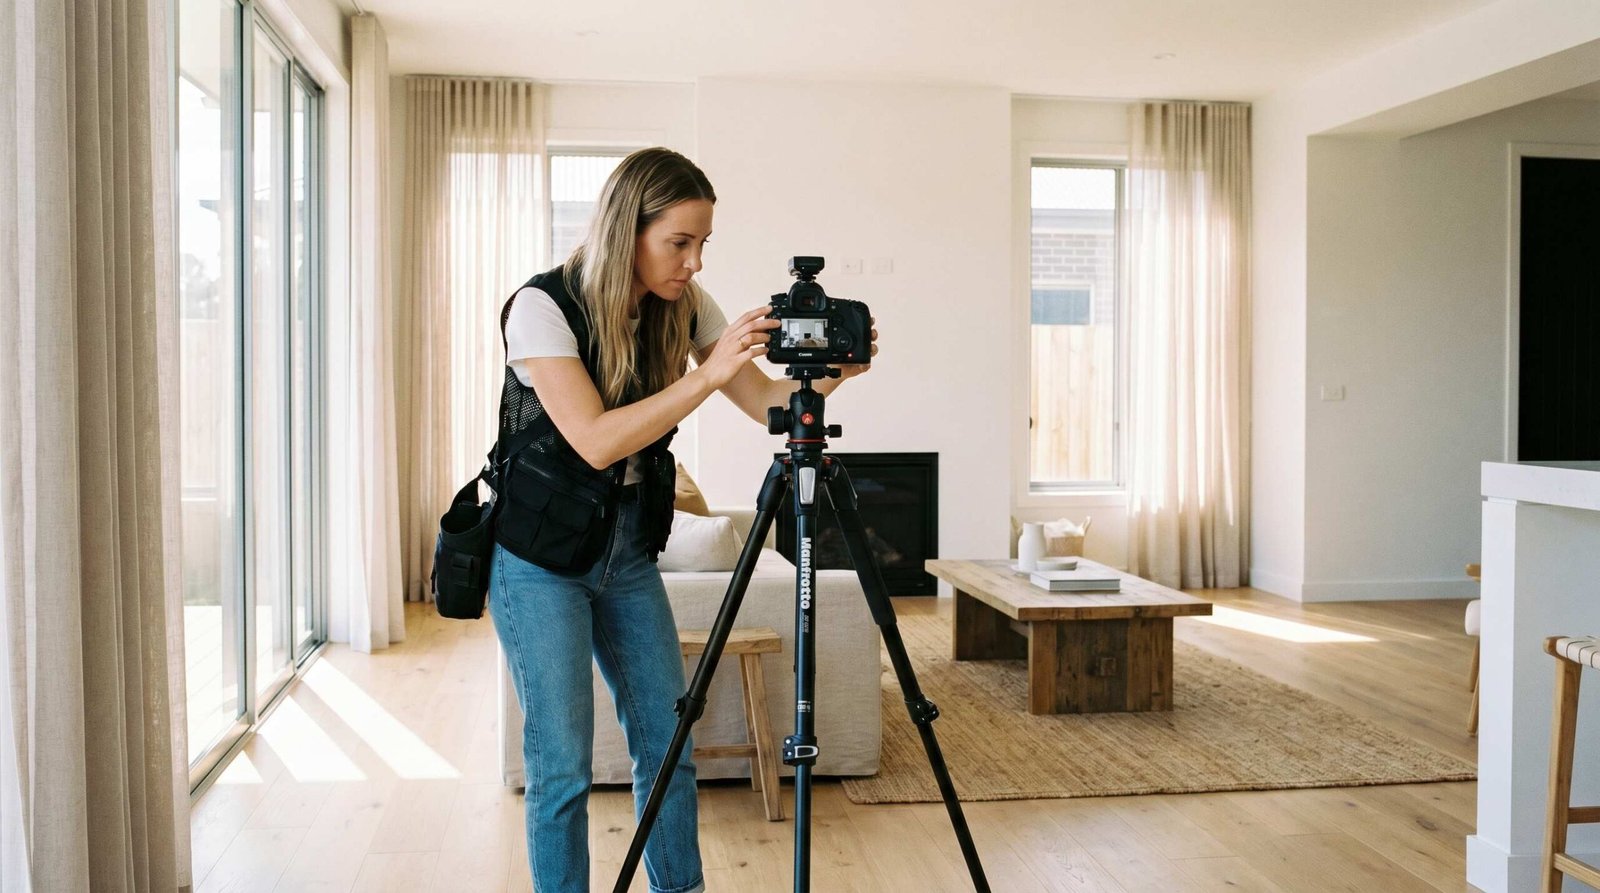
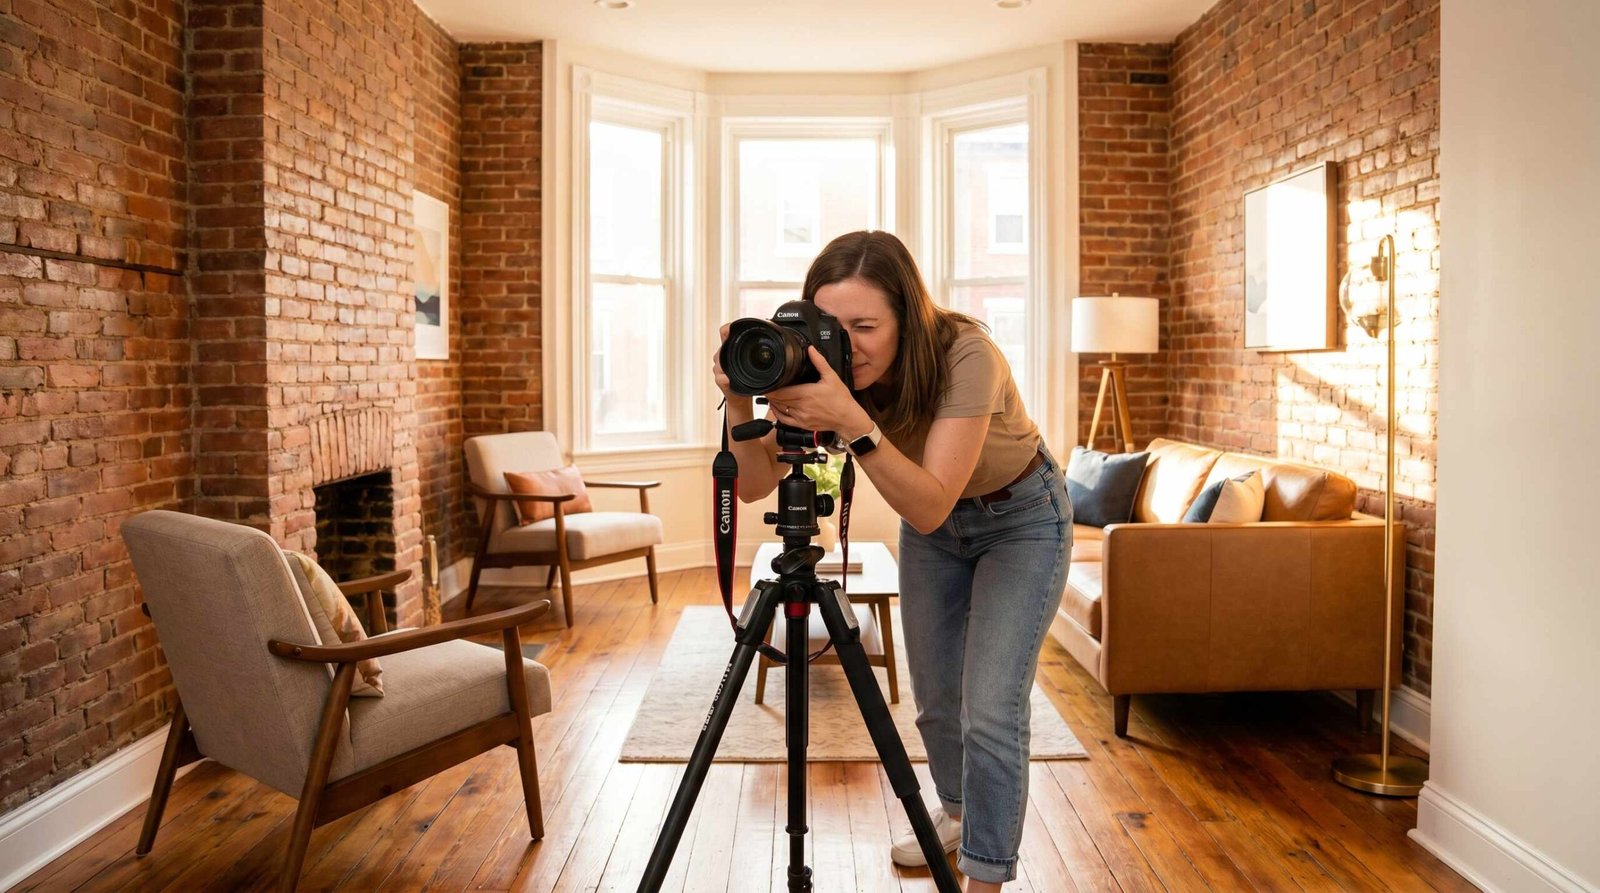
Handheld is different. If you must shoot without a tripod, the old reciprocal rule still applies: minimum shutter speed equals 1 over your focal length. Shooting at 16mm means 1/16s is the slowest you can safely handhold. In practice, with IBIS, you can push to 1/8s on a good day, but never plan a real estate shoot around handheld captures. The tripod is non-negotiable for clean, sharp, professional results.
When using strobes or speedlights, shutter speed locks to your flash sync speed, which on most modern cameras is 1/160s to 1/200s. Above that speed the shutter curtain blocks part of the frame from the flash burst. Below that speed you can freely ambient-blend without issue, but the standard for clean flash-driven interiors is right at the sync speed.
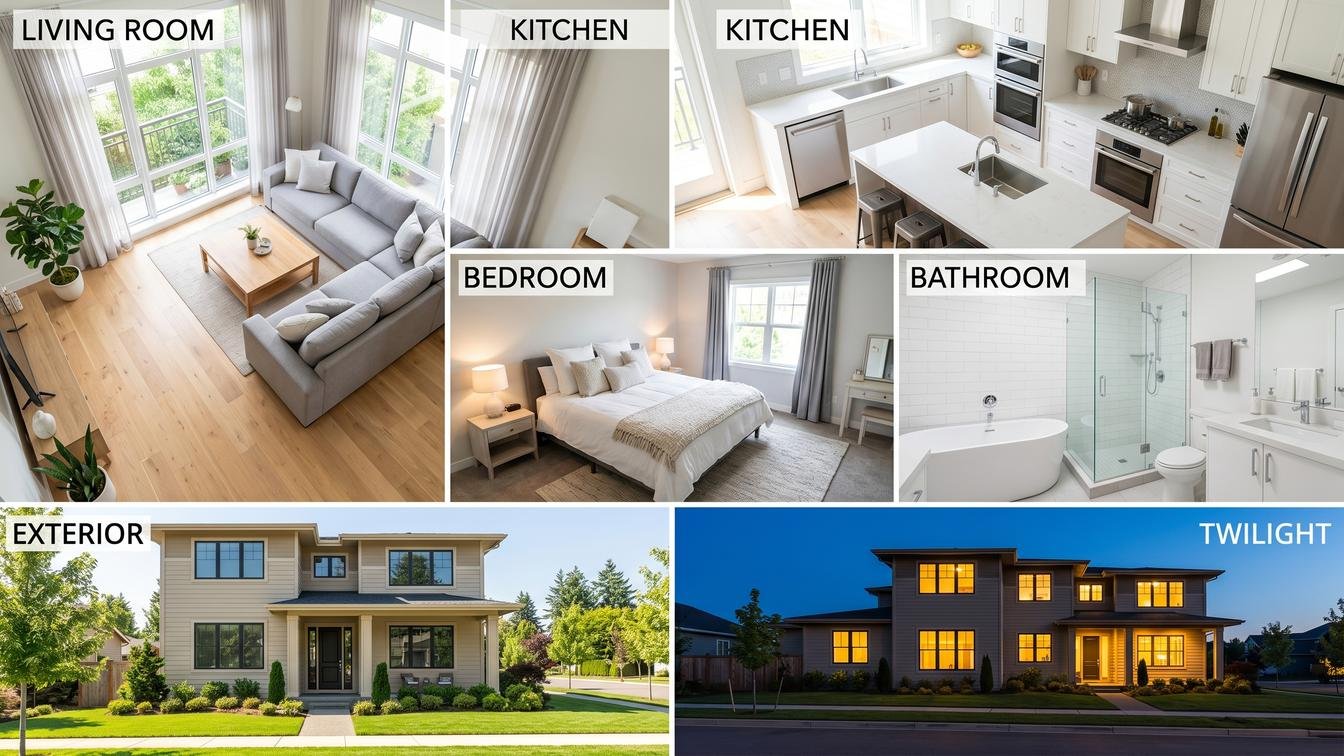
Quick Reference: Camera Settings by Room Type
Different rooms need slightly different starting points. This table is the cheat sheet every real estate photographer eventually internalizes, but having it written down for the first few months saves a lot of head-scratching on location.
| Room / Scenario | Aperture | ISO | Shutter | White Balance | Shooting Mode | Key Note |
|---|---|---|---|---|---|---|
| Living Room (bright) | f/8 | ISO 100 | 1/15 to 1/60s | AWB or 5500K | AV | Bracket +/- 1 stop if windows in frame |
| Kitchen | f/8 | ISO 100 to 200 | 1/30 to 1/125s | AWB or 3500K | AV or M | Mixed light common; correct WB in post |
| Bedroom | f/8 | ISO 200 to 400 | 1/15 to 1/60s | AWB | AV | Darker rooms; shoot 3 brackets |
| Bathroom | f/8 | ISO 100 to 200 | 1/30 to 1/125s | AWB or 4000K | AV | Tight spaces; watch corners |
| Exterior (daytime) | f/8 to f/11 | ISO 100 | 1/250 to 1/500s | 5500K | M | Manual for sky control |
| Twilight Exterior | f/8 to f/11 | ISO 100 to 400 | 1/4 to 4s | 3200 to 4000K | M | Use timer; link to twilight guide |
Twilight shots deserve their own dedicated approach because of the rapid light change during blue hour and the careful balance between sky exposure and warm interior light. Our twilight real estate photography guide walks through the timing, sequencing, and post-processing that makes those high-impact exterior shots actually look high-end.
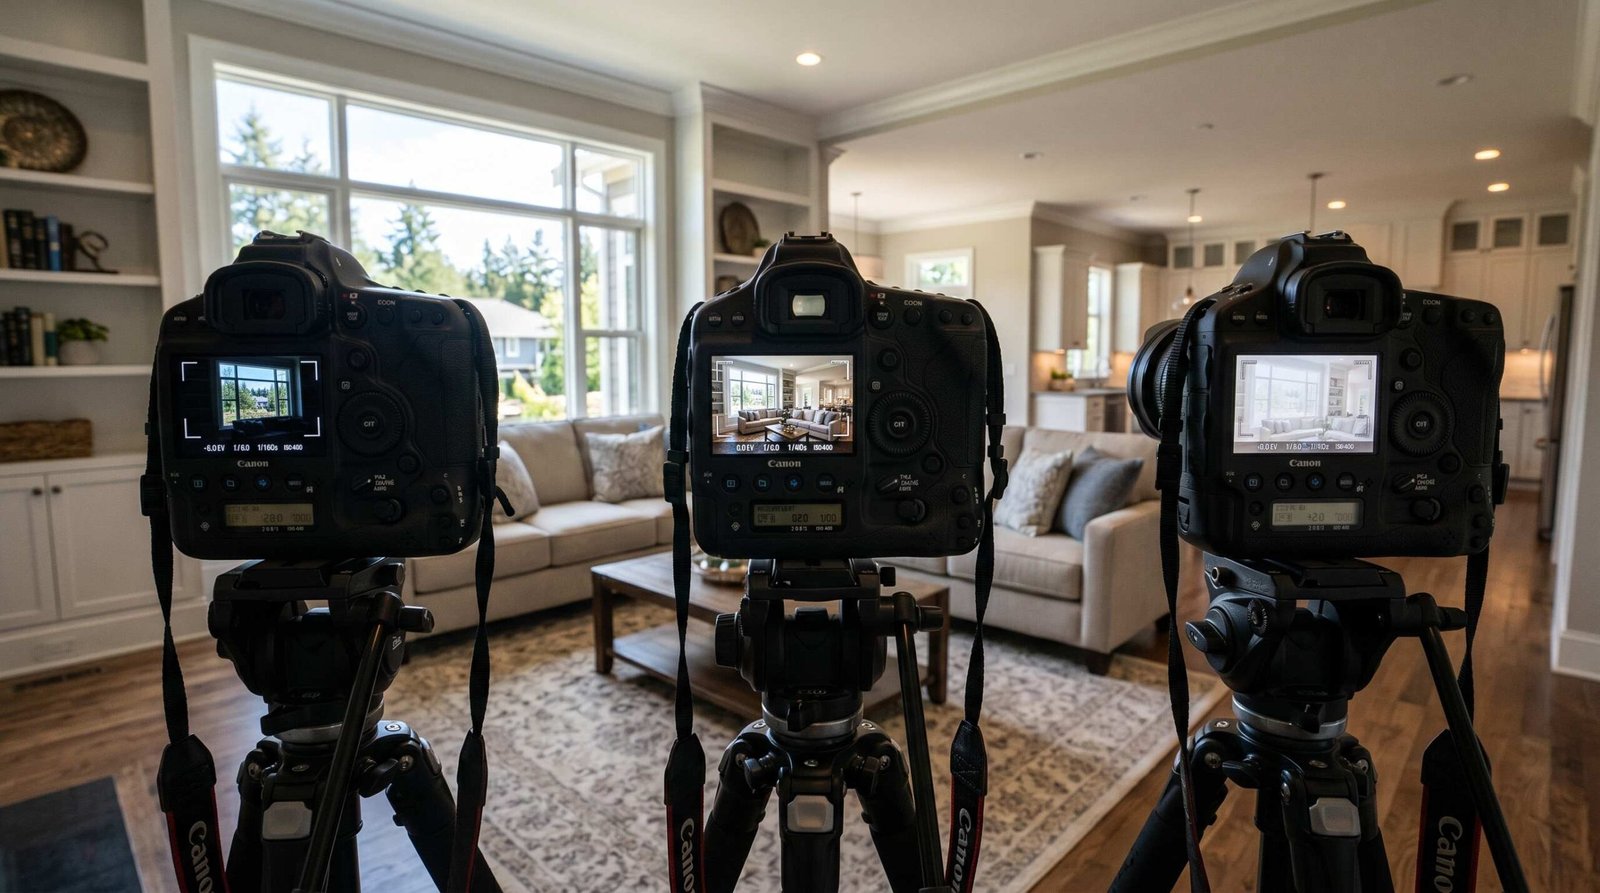
Shooting Mode: AV, Manual, or Automatic?
The mode dial decides which settings the camera controls and which you control. For real estate work, the choice comes down to two modes: Aperture Priority (AV on Canon, A on Sony and Nikon) and full Manual. Everything else, especially Program mode and Full Auto, surrenders too much control to the camera’s guesswork.
Aperture Priority is the workhorse for interior shooting. You set aperture (f/8) and ISO (100 or 200), and the camera picks the shutter speed needed for correct exposure. Because the camera is on a tripod, slow shutter speeds are fine, and the camera handles the math while you focus on composition and bracketing. Most interior shoots can run start to finish in AV.
Manual takes over in three specific scenarios: when using flash (you need shutter speed locked at sync speed), when shooting exteriors with a sky in the frame (you want to control how bright the sky appears, not let the camera average it), and when shooting twilight (the changing light fools any meter, so you set everything yourself and adjust by eye).
| Mode | When to Use | Tradeoffs |
|---|---|---|
| Aperture Priority (AV / A) | Interior rooms, ambient light, HDR brackets | Camera picks shutter; bracket compensates for meter errors |
| Manual (M) | Flash work, daytime exteriors, twilight, drone-style consistency | Slower setup; full control over every variable |
| Program (P) | Never for real estate; the camera picks aperture and shutter together | Loses depth-of-field control; unpredictable results |
| Full Auto | Never for professional work | No control; pop-up flash may fire; ISO climbs unpredictably |
The reason Manual rules exteriors is sky control. Point the camera at a bright sky in AV mode and the meter will average the scene, making the sky blow out and the foreground house look correct. In Manual you can underexpose by half a stop to preserve sky detail and recover the house shadows in post. That control is the difference between a flat snapshot and an exterior that sells.
White Balance: Why Auto Fails in Real Rooms
White balance is the setting most new real estate photographers neglect, and it’s the one that makes their photos look amateur even when everything else is dialed in. Walls turn yellow, kitchens look orange, and the whole listing has that uneven, color-shifted feeling that screams “not professionally shot.”
The Mixed Lighting Problem
A single living room can contain three different color temperatures simultaneously: daylight pouring through windows at 6500K, LED recessed ceiling lights at 3000K, and a warm staging lamp on the side table at 2700K. Auto White Balance tries to average these into one neutral value, but averages don’t exist in physics. The result is walls that look greenish near the windows, yellowish under the recessed lights, and orange near the lamp, all in the same frame.
The fix is not to pick a single Kelvin value in camera. The fix is to shoot RAW (which carries full color data), pick a starting white balance that gets you close, and then correct mixed light in post using local adjustments or selective white balance tools.
Kelvin Values by Light Source
| Light Source | Kelvin Range | Real Estate Situation |
|---|---|---|
| Clear daylight | 5500 to 6500K | Exteriors, window-lit rooms |
| Overcast sky | 6500 to 7500K | Dull day exteriors |
| LED recessed | 2700 to 4000K | Most new construction kitchens |
| Tungsten bulbs | 2500 to 3000K | Older staging lamps |
| Fluorescent | 4000 to 5000K | Offices, garages |
| Mixed interior | 3500 to 4500K | Typical real estate room |
Practical White Balance Workflow
The workflow that actually scales across a 50-photo shoot looks like this. Set the camera to AWB for speed; the camera’s first guess gets you 80% of the way there. Then, at the start of each room, take one frame with a gray card placed in the scene. This single frame becomes your reference for the entire bracket set in that room. When you import to Lightroom, click the gray card with the white balance eyedropper, then sync that corrected value across every other frame in the room.
This approach is faster than setting custom Kelvin in camera (which slows down the shoot) and more accurate than relying on Lightroom’s auto-WB on every frame. For step by step processing once you’re back at the desk, our deeper coverage of the HDR workflow in Lightroom and other real estate photography editing tips walks through the merge, sync, and finishing steps that turn raw brackets into delivered listing photos.
Shooting Scenarios: Which Method Should You Use?
Real estate shoots fall into three workflow patterns: ambient only, flash-based, and HDR bracketed. Knowing when to use each one saves time on location and produces better results in post.
Natural Ambient Light Only
Bright modern homes with floor-to-ceiling windows and clean white walls often shoot beautifully with just ambient light. Set the camera to f/8, ISO 100 to 200, AWB, and let the tripod-stabilized shutter speed handle exposure. A single frame is often enough when the window-to-room brightness ratio is balanced, meaning the view through the window doesn’t blow out while the room is properly exposed.
You know you’ve hit the limit of single-exposure ambient when you can see both the window and the interior in the same frame. At that point the dynamic range exceeds what a single capture can hold, and bracketing becomes mandatory. As a rule of thumb, if the window is in the frame and the view is something the buyer should see (a backyard pool, an ocean view, a city skyline), bracket. If the window faces a fence or the view doesn’t matter, you can let the window blow and stick with a single exposure.
Single Flash / Strobe Blend
Flash-blended interiors are the technique that separates professionals from hobbyists. The setup runs at f/8, ISO 100, and 1/160 to 1/200s, with an off-camera flash placed to mimic window light or to fill shadowed corners. The flash burst adds clean, neutral light to the room without changing the ambient exposure for the windows.
The advantage of flash is consistency. The room looks the same at 9am as it does at 4pm. The exposure ratio between window and interior is fixed by you, not by the weather. Listings shot on cloudy days look identical to those shot in midday sun. For high-volume real estate photographers shooting eight to ten homes a week, the time savings in post alone justify the flash kit. If you’re sizing up lighting gear, our deeper rundown of off-camera flash options for real estate covers strobes, triggers, modifiers, and stands worth investing in.
HDR Bracketing Workflow
HDR bracketing is the most flexible technique because it works in any lighting condition without flash. The basic bracket set is three exposures at -1, 0, and +1 stops, which covers most interiors with moderate window-to-interior contrast. For high-contrast situations like a bright sunlit window inside a dim room, push to five or seven exposures at -3 to +3 stops to capture full dynamic range.
Set the camera to continuous bracketing mode, use the 2-second timer to eliminate shutter-press shake, and lock the camera firmly on the tripod so all frames register pixel-perfect during the merge. Shoot all brackets in AV mode so only the shutter speed varies; aperture and ISO stay constant, which keeps depth of field and noise consistent across the set.
Back at the desk, the merge happens in Lightroom’s HDR Photo Merge tool, which takes the bracketed frames and produces a single 32-bit DNG with the full dynamic range baked in. From there the merged file goes through the standard Lightroom develop workflow: exposure, white balance, shadows, highlights, and finishing. The result has the natural look of a single exposure with the latitude of an HDR file.
Camera Settings Most Real Estate Photographers Ignore
The big three (aperture, ISO, shutter) get all the attention, but a handful of secondary settings make a real difference in image quality. Most photographers never touch them. They should.
Image Stabilization Off on a Tripod
IBIS (in-body image stabilization) and lens IS exist to counter handheld camera shake. On a tripod, where the camera is already perfectly still, the stabilization system can actually introduce motion blur. The system senses tiny vibrations from cable releases, mirror slap on DSLRs, or wind moving the tripod, then over-corrects and shifts the sensor while the exposure is happening. The result is soft images at slow shutter speeds.
Turn it off. On Sony bodies, navigate to the menu and set SteadyShot to Off. On Canon R series, the lens IS switch should be Off, and any in-body stabilization disabled in the menu. On Nikon Z bodies, find Vibration Reduction in the menu and disable it. This is a one-line setting change that costs nothing and routinely fixes mysterious softness in long tripod exposures.
Electronic Front Curtain Shutter (EFCS)
Mechanical shutters introduce vibration at the start of an exposure as the front curtain moves out of the way. At fast shutter speeds, this vibration is irrelevant. At slow speeds in the 0.5s to 4s range, exactly the range you live in for interior real estate work, the vibration causes a visible loss of sharpness called shutter shock.
Electronic Front Curtain Shutter (EFCS) eliminates that vibration by starting the exposure electronically instead of mechanically. Available on Sony A7 series, Canon R series, and Nikon Z series, EFCS gets enabled in the Shutter Type menu. Set it to EFCS rather than full mechanical or fully silent. Silent (fully electronic) shutter introduces rolling shutter artifacts under LED lights, which is a different problem. EFCS is the sweet spot for tripod work.
Back-Button Focus
The default behavior on every camera links autofocus to the shutter button. Half-press focuses, full-press fires. For real estate work, especially bracketing, this is the wrong workflow. Back-button focus separates focus from the shutter, assigning autofocus to the AF-ON button on the back of the camera.
The benefit is repeatability. Compose the room, press AF-ON once to lock focus, then fire three or seven bracket frames without the camera trying to refocus between them. No focus hunting, no shifting focal points, no soft frames in the bracket set. After one shoot using back-button focus, going back to the default feels broken.
Long Exposure Noise Reduction
Long Exposure Noise Reduction (LENR) takes a second “dark frame” exposure equal to the original exposure length and subtracts the sensor noise pattern from your image. For exposures under 30 seconds on a modern sensor, the noise pattern is invisible anyway, so LENR is unnecessary and just doubles your capture time. Keep it Off for typical interior work.
The exception is twilight exteriors that run 30 seconds or longer. At that exposure length, hot pixels and pattern noise become visible, and LENR cleans them up better than any post-processing tool. Switch it On for long twilight exposures, but accept that each capture will take twice as long while the camera processes the dark frame.
Common Settings Mistakes (and Quick Fixes)
Even experienced photographers fall into these traps, usually because they shot something else before the real estate gig and forgot to reset the camera. Walk through this checklist before every shoot.
Mistake 1: Shooting in Auto mode. Full Auto picks aperture, shutter, ISO, and sometimes flash for you, which means you have no control over depth of field or exposure consistency between frames. Fix: switch the dial to AV and set f/8 as your default aperture. Your camera does the rest with predictable results.
Mistake 2: JPEG instead of RAW. JPEG bakes white balance, exposure, and contrast into the file, leaving almost no room for correction in post. Real estate photography lives or dies on post-processing flexibility. Fix: go into the Quality menu and set image format to RAW (or RAW + small JPEG if you want quick previews on a phone).
Mistake 3: ISO too high in dark rooms. The temptation to crank ISO to ISO 3200 in a dim basement is real, but you don’t need to. Fix: leave ISO at 100 to 400 and slow the shutter to 1 second or longer, or add a flash to pump light into the room, or bracket exposures to capture shadow detail without lifting ISO.
Mistake 4: Forgetting to reset ISO after a previous shoot. You shot a wedding on Saturday at ISO 3200, you pull the camera out for a Sunday real estate gig, and your interiors are noisy because you never reset. Fix: program a custom shooting mode (C1 or C2 on most cameras) preloaded with your real estate defaults: AV, f/8, ISO 100, AWB, RAW. One dial click and you’re ready.
Mistake 5: Image Stabilization left ON on a tripod. Covered above, but worth repeating because it’s so common. Fix: when the tripod legs spread, the IS switch goes off. Make it part of your setup ritual.
Mistake 6: White balance set to a custom Kelvin from a previous property. Custom WB stays locked between shoots unless you reset it, which means you can show up at a daylight-flooded modern condo with your camera still set to 2800K from last week’s tungsten-lit historic home. Fix: shoot AWB by default, or reset custom WB to a known value at the start of every new property.
Starting a Real Estate Photography Business?
Knowing the settings is step one. Turning that knowledge into paying work is step two, and the path between the two has very little to do with cameras. It involves pricing, contracts, agent relationships, MLS turnaround expectations, and consistent delivery quality. The technical foundation matters, but the business side is what determines whether real estate photography becomes a hobby or a full-time income. If you’re working toward the latter, our guide to building a real estate photography business from scratch covers the operational side: how to find your first agents, what to charge, how to structure packages, and how to scale without burning out.
Once the basic listing work is steady, the natural next step is landing your first luxury real estate clients, where the per-shoot rates double or triple and the production value steps up to drone work, twilight exteriors, and full property videos. Settings are still settings; the difference at the high end is workflow polish and brand presentation.
FAQ: Real Estate Photography Camera Settings
What aperture should I use for real estate photography?
Use f/8 as your default aperture for real estate photography. The full usable range is f/7.1 to f/11, which gives maximum sharpness across most modern lenses while keeping the entire room in acceptable focus. Avoid f/4 (soft corners, shallow depth of field) and f/16 or smaller (diffraction softens the whole image).
What ISO setting is best for real estate photos?
ISO 100 is ideal for bright rooms with good window light, ISO 200 to 400 works for darker bedrooms and bathrooms, and ISO 800 is the practical ceiling for windowless basements. Because you should always be on a tripod, you can rely on slower shutter speeds rather than higher ISO, which keeps shadow detail clean.
Should I shoot RAW or JPEG for real estate?
Always shoot RAW for real estate photography. RAW files carry full color and exposure data, which lets you correct mixed lighting, recover blown windows, and lift shadows in post without quality loss. JPEG bakes those decisions into the file permanently and makes the inevitable corrections look worse.
What shutter speed should I use for interior shots?
On a tripod, shutter speed is whatever the meter calls for, typically 1/15s to 1/2s for interiors at f/8 ISO 100. Handheld, follow the 1/focal-length rule: at 16mm, no slower than 1/16s. When using flash, lock shutter speed at your sync speed of 1/160s to 1/200s.
Should white balance be auto or custom for real estate photography?
Shoot Auto White Balance for speed and consistency, then correct in post using a gray card reference frame from each room. Custom Kelvin settings slow down the shoot and rarely improve accuracy compared to RAW correction in Lightroom, especially in rooms with mixed daylight, LED, and incandescent sources.
Do I need a tripod for real estate photography?
Yes, a tripod is non-negotiable for professional real estate photography. It enables slow shutter speeds at low ISO, keeps the camera level across bracketed exposures for clean HDR merging, and produces the sharp, distortion-controlled images buyers expect. A sturdy aluminum or carbon-fiber tripod rated for at least 8 pounds is the standard.
What camera settings work for dark rooms with no windows?
For dark windowless rooms, set f/8, ISO 400 to 800, and let shutter speed extend to 2 to 8 seconds on a tripod. Add an off-camera flash bounced off the ceiling for cleaner shadow detail. Bracket three exposures if any natural light source (door, hallway) feeds into the room to balance the brightness across the frame.
RELATED POSTS
View all
Real Estate Photographer Phoenix: The Complete Agent’s Hiring Guide (2026)
June 2, 2026 | by Ian
Real Estate Photography Tips: The Practical Photographer’s Playbook (2026)
May 28, 2026 | by Ian
Real Estate Photography Philadelphia: The Complete Agent’s Guide (2026)
June 3, 2026 | by Ian